

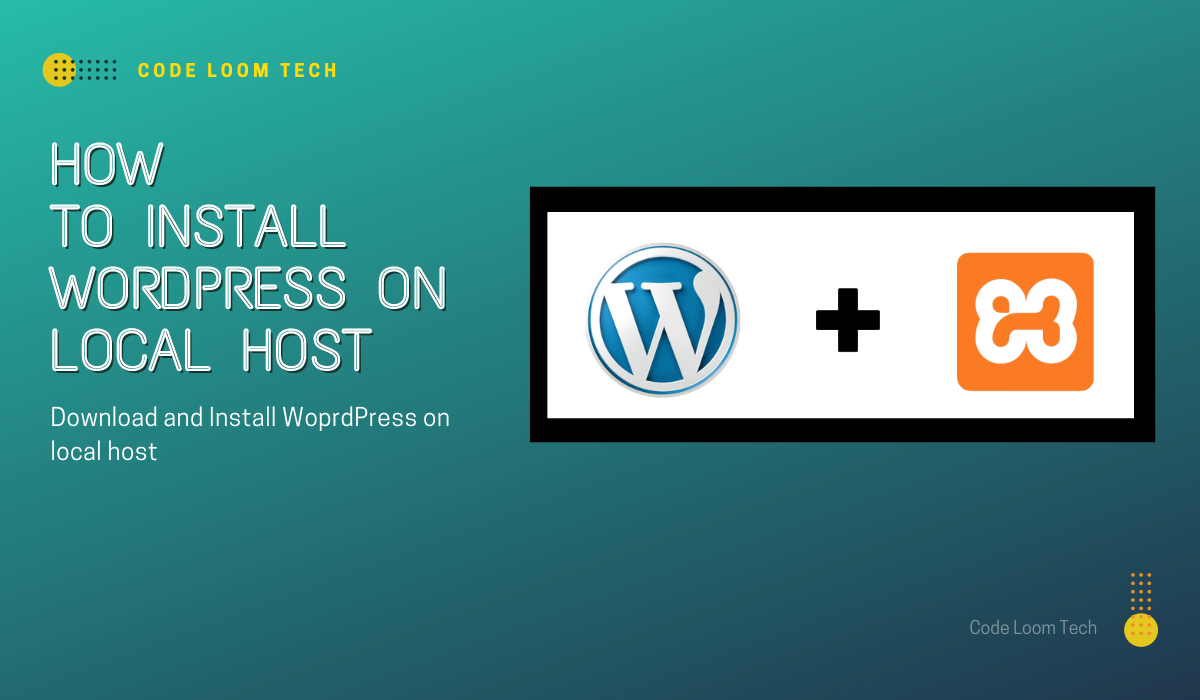
Installation of WordPress on local host by using XAMPP is a great way to build a website in a safe and controlled environment. And the best part? It’s easier than you think! In this article, we will guide you through the step-by-step process of setting up WordPress on your local host using XAMPP.
What is XAMPP?
Before starting the installation process, we will cover the basics. What is XAMMP?
XAMPP is a free and open-source cross-platform that includes Apache, MySQL, PHP, and Perl. In simple words, it’s a software package that allows you to set up a local web server environment on your computer, it make possible to run dynamic web applications offline.
Step 1: Download and Install XAMPP
The first step is to download and install XAMPP on your computer. (https://www.apachefriends.org/index.html) offers a free download of XAMPP. After downloading run the installer then follow the on-screen instructions to install XAMPP on your PC.
Step 2: Start the Apache and MySQL Services
After installing XAMPP, launch the XAMPP Control Panel and start the Apache and MySQL services by clicking on the “Start” buttons next to their respective names. These services are essential for running the web server and database server needed to host your WordPress site locally.
Step 3: Download WordPress
Download the latest version of WordPress from the official WordPress website (https://wordpress.org/download/). Once downloaded, copy this zip file and paste it in “htdocs.”
How do find “htdocs”?
Open the directory where you installed XAMPP
Here you’ll find “htdocs.”
extract the WordPress zip file to the “htdocs” folder inside the XAMPP installation directory on your computer. This folder is where your local websites will be stored.
Step 4: Create a MySQL Database
Before the installation of WordPress, you have to create a MySQL database.
For this:
1. Open a web browser.
2. Search http://localhost/phpmyadmin/
(This will take you to the phpMyAdmin interface, where you can manage your MySQL databases.)
3. Click on the “Databases” tab.
4. Enter a name for your WordPress database (e.g., “wordpress”).
5. Unchange the default settings and click the “Create” button to create the database.
Step 5: Configure WordPress
Now it’s time to configure WordPress. Open your web browser and search http://localhost/wordpress/. This will take you to the WordPress installation page, where you’ll be asked to select a language for your WordPress site. After selecting your language, click the “Continue” button to proceed.
Next, you’ll need to enter your database information. Fill in the following fields:
- Database Name: Enter the name of the MySQL database you created earlier (e.g., “wordpress”).
- Username: Enter “root” as the MySQL username.
- Password: Leave this field blank.
- Database Host: Enter “localhost”.
- Table Prefix: You can leave this field as is unless you have a specific reason to change it.
After entering your database information, click the “Submit” button to proceed. WordPress will now connect to your MySQL database and set up the necessary tables.
Step 6: Complete the Installation
Once WordPress has connected to your database, you’ll be prompted to enter some basic information to set up your WordPress site, including the site title, username, password, and email address. Fill in these fields and click the “Install WordPress” button to complete the installation.
Step 7: Log in to WordPress
You’ve successfully installed WordPress on your local host using XAMPP. To access your WordPress dashboard, serch to http://localhost/wordpress/wp-admin/ in your web browser and log in using the username and password you specified during the installation process. Now, you can start customizing your site, adding content, and exploring all that WordPress has to offer.